Students can provide access for their parents, guardians, or other individuals to view and pay their bill by setting them up as an authorized payer.
Navigating to Penn State’s Payment Gateway Dashboard
There are many ways to navigate to specific areas within LionPATH including using the hamburger menu, page tabs, and quick links. For the purpose of this document, navigation will be described using the hamburger menu. For information on navigating the LionPATH user interface, refer to the Getting Started with LionPATH tutorial.
1.Click the Hamburger icon.
2.Click the Finances drop-down menu.
3.Click the Financial Account drop-down menu.
4.Select the Manage My Account / Make a Payment link.
Adding an Authorized Payer
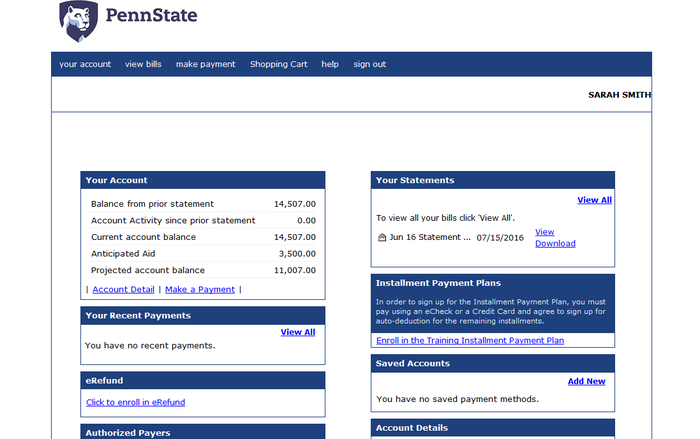
- In the Authorized Payers section of the Payment Gateway, click the Add New link.
Figure 1: Penn State's Payment Gateway dashboard
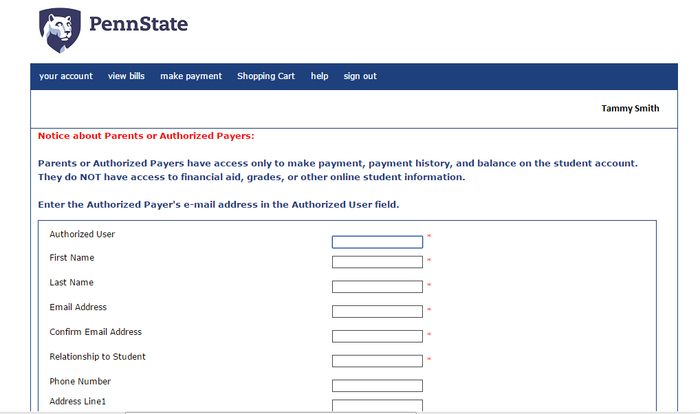
To add an authorized payer you will need to provide information about the person you want to add.
Figure 2: Authorized Payer form
2.Enter the authorized payer’s email address into the Authorized User field. Note: The Authorized User field will only accept a unique value. If the email has already been used, as would be the case if the individual is an authorized payer for another student, enter the email address followed by a number (e.g., [email protected]).
3.Complete the form by entering the appropriate information into the fields provided. Note: The fields with an asterisk to the right are required.
4.Options, describing what the authorized payer should be able to do in the system, are displayed at the bottom of the page. Make changes to the default options as appropriate.
5.Once you complete the form, click the OK button. An email containing the login name and password, as well as a link for accessing the system, will be sent to the authorized payer.
Clicking the OK button will return you to the Payment Gateway dashboard. The Authorized Payer section will display the authorized payer and you can edit or delete the information as necessary.
Updating an Authorized Payer
- To edit the authorized payer’s information, click the Edit link located to the right of their name.
- Enter any changes into the appropriate fields.
- If you wish to reset the authorized payer’s password, click the Reset Password button.
- Clicking the Continue button will reset the password for the authorized payer and a new email containing a temporary password will be sent to the authorized payer.

